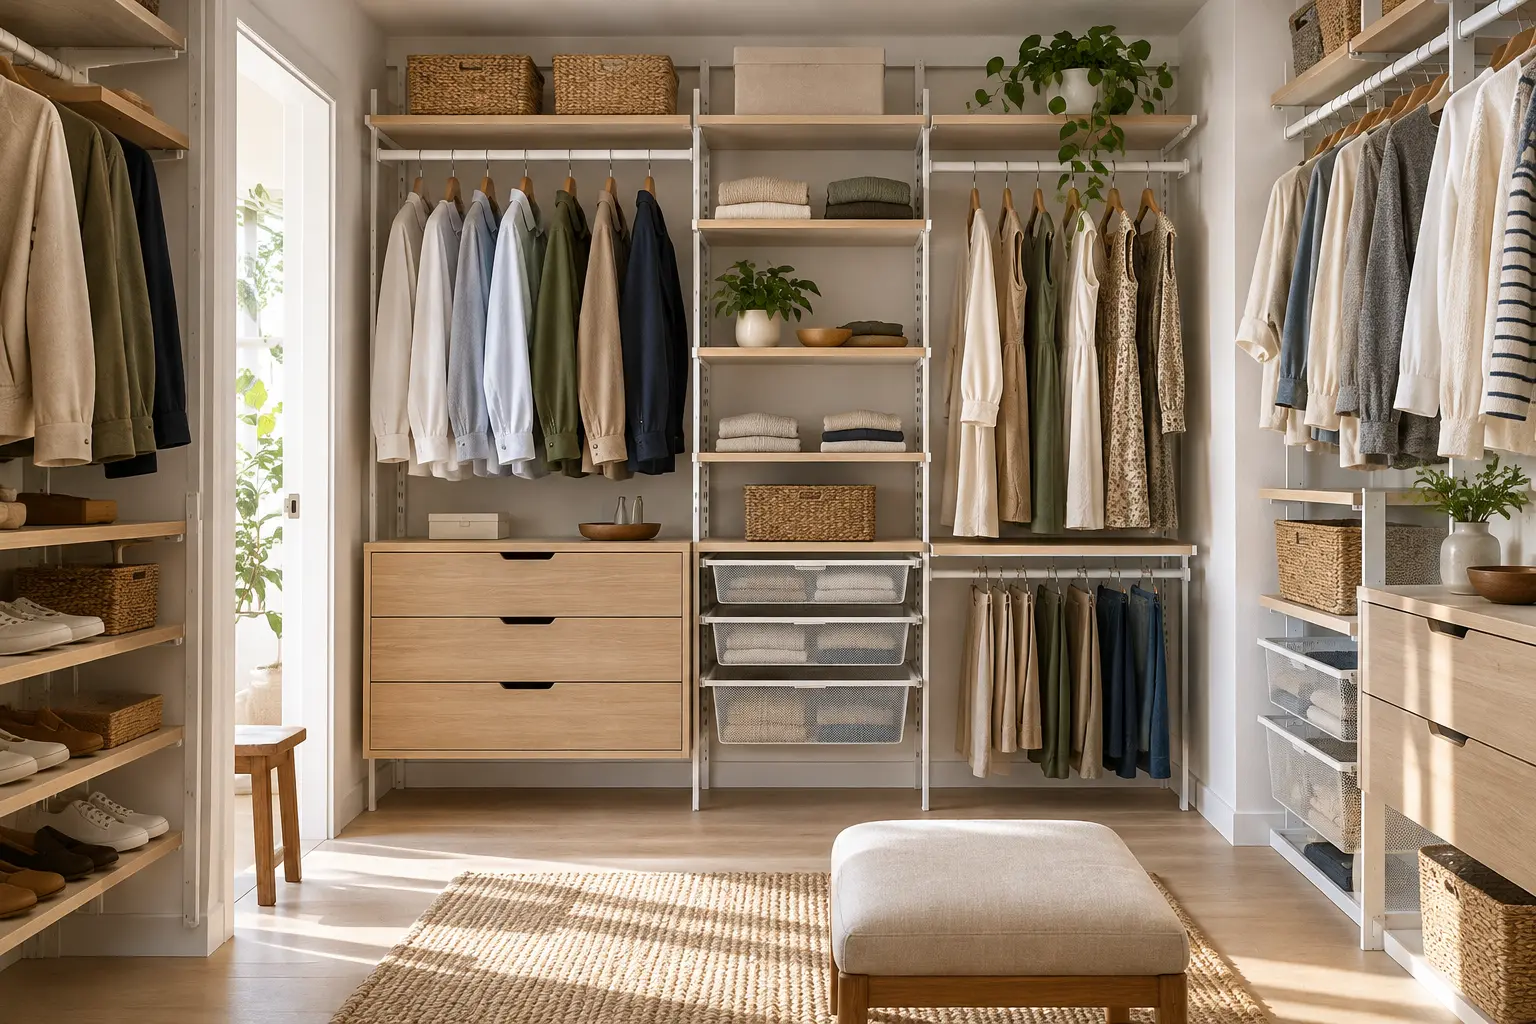
Inventory the storage problem first
A track closet system is built from a wall-mounted rail or standard, vertical supports, shelves, rods, drawers, baskets, and accessories. Its flexibility is useful only when the components match the items being stored. Count hanging garments, folded stacks, shoes, bags, and long pieces before selecting a kit. A beautiful wall can still waste space if the shelf depth or hanging height is wrong.
Separate everyday access from seasonal storage. Daily clothes need clear paths and reachable shelves; spare bedding or luggage can sit higher. Record the tallest dresses or coats, the width of folded stacks, and the depth required for shoes. This inventory prevents buying a system that offers many modules but no practical place for the items you own.
Measure the wall, floor, and door swing
Measure the finished wall width, ceiling height, baseboard, outlets, trim, and any obstruction such as a window or vent. Mark the rail and shelves with painter’s tape. Include the clearance for a person to stand, turn, and remove clothes. A system can fit along a wall and still make the closet feel unusable if the aisle is too narrow.
Open every drawer, door, and nearby closet door in the plan. Sliding doors change access to the front of the system, while hinged doors require side clearance. If the closet is a walk-in, draw the opposing wall and any island or hamper. Measure the path to the room because long rails and shelves may need to pass through a stair turn or narrow hallway.
Understand rails, standards, and wall support
Track systems distribute components through a wall-mounted rail and vertical standards or uprights. The rail must be installed into suitable structure or approved anchors according to the manufacturer’s instructions. Drywall alone is not a universal load-bearing solution. Identify studs, wall material, and the position of pipes or wiring before drilling.
Load guidance applies to the rail, standards, brackets, shelves, and rods as a connected system. A shelf rated for a certain load may perform differently if it is spaced too far from a support or loaded unevenly. Follow the supplied spacing and hardware requirements. Do not add a heavy drawer tower or long shelf without confirming that the surrounding structure supports it.
Choose shelf depth and hanging height
Shelf depth affects visibility, reach, and the amount of floor space the closet consumes. Shallow shelves make folded stacks easier to see; deep shelves hold more but invite a second row that disappears behind the first. Use the dimensions of your folded clothes, bins, shoes, and bags rather than choosing the deepest board available.
Double-hang sections use vertical space efficiently for shirts and trousers, while long-hang zones need clearance for dresses, coats, or robes. Measure the actual garments with hangers. Leave enough space beneath a rod for shoes or a hamper without forcing the hem into the floor. Adjustable rods help future changes, but only within the system’s supported range.
Compare drawers, baskets, and accessories
Drawers protect small items and create a calmer visual field, but they need front clearance and increase the system’s weight. Wire baskets offer ventilation and visibility, while solid bins conceal contents and can slide differently. Choose access around the routine: a daily accessory drawer should not sit above eye level, and a deep basket should not be filled with small pieces that disappear.
Accessories such as valet rods, tie racks, shoe shelves, and pull-down rails can solve a specific problem or consume space that would serve better as a normal shelf. Check compatibility, mounting position, and load guidance before adding them. A modular system is not automatically efficient; each extra part should make retrieval easier or protect the stored item.
Plan installation, finishing, and future changes
Track systems are adjustable, but adjustment still requires tools, safe access, and a plan for the wall. Install the rail level, confirm the vertical standards, and test an empty shelf before loading the system. If the system is tall, use a stable ladder and follow the maker’s instructions. Keep spare hardware and the layout diagram for later changes.
Think about how the wardrobe may change after a move, a season, or a change in household needs. A system with common component widths can be easier to expand, but compatibility is brand-specific. Check whether shelves can be cut, whether replacement brackets are available, and whether the finish can be repaired. Future flexibility is a specification worth verifying.
Delivery, assembly, and returns
Confirm the number and dimensions of boxes, package weight, assembly time, and whether installation is included. Inspect rails, standards, brackets, shelves, drawer fronts, and hardware before drilling. Once a rail is cut or a component is installed, returns may have different conditions. Keep packaging until the complete layout is stable and the parts are accounted for.
Read the current return and warranty terms for the exact kit and accessories. Photograph the wall and parts if damage appears. Do not load the system until the rail is level, the standards are secure, and the brackets are fully seated. A closet system should be tested empty before it is trusted with the wardrobe.
Final track closet system checklist
Before ordering, confirm wall material, stud or anchor plan, rail length, standard spacing, shelf depth, rod height, drawer clearance, accessories, load guidance, package sizes, installation requirements, care, expandability, delivery, and returns. Draw the finished layout at scale and include doors, trim, aisle, and the garments that need to fit.
The best track closet system turns vertical wall space into storage that can change with the wardrobe. Choose the rails around the wall structure, shelves around the items, and modules around access. Verify current hardware and compatibility information before buying because component systems are rarely universal.